Modern Rectangular LED Ceiling Light Simple Nordic Porch Corridor Lamps Kitchen Staircase Balcony Lighting Decorative Fixture
Style: Iron Acrylic ceiling light
Ceiling light type: iron Panel Lamp
Shade material: wrought iron+acrylic
light sources: 24W LED Light source
Lamp size: 40*12*5CM
Voltage: 220V
Applicable light source: monochromatic light/trichromatic light/remote control stepless dimming (remote control is subject to the actual product received)
Average service life: 90000 (h)
Color: White
Applicable area: 3~8 square
Process: stamping, bonding, polishing
Applicable places: corridor, living room, bedroom, study room, restaurant, hotel room, exhibition hall, aisle, porch, balcony, cloakroom, etc.
Stepless dimming remote control instructions: please put in the battery, check whether the indicator light of the remote control is on, and then perform the code matching operation; confirm that the lamp is powered on, quickly press the code matching button (SETUP button) within 10 seconds of turning on the light, and the light flashes once Indicates that the code matching is successful; otherwise, turn off the power of the lamp and repeat this step until the light flashes once and the code matching is successful.


Simple rectangular shape Enjoy a warm and comfortable life


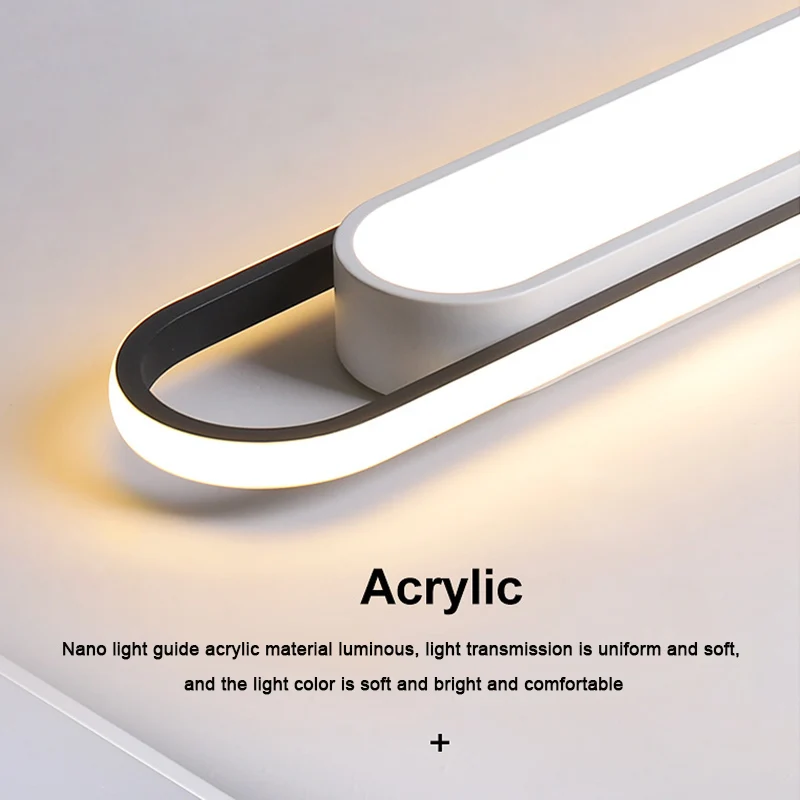
Nano light guide acrylic material luminous, light transmission is uniform and soft, and the light color is soft and bright and comfortable

Iron art paint lamp body is solid and stable High-temperature baking varnish process is treated with anti-corrosion, anti-rust and durable
Lamp installation instructions
Note: Before installation,
be sure to cut off the power supply to prevent electric shock!
1. Before installation, please check whether the lamp is in good condition, turn on the power supply, and test whether the lamp is luminous normally. If there is a lamp with a remote control, you need to test whether the remote control can be controlled normally.
2.①Raise the cross (or l-shaped) back strip with your hand to predetermine the installation position on the ceiling, and use a marker or pencil to mark the space of the mounting screws on the ceiling.
②Drill holes at the position just marked, insert rubber particles, and fix it on the ciling.
③Then connect the power cord at the back of the chassis to the circuit.
④Finally hang the lamp body on the bracket.
3. Chassis installation instruction diagram Install in order


